


When Sweet, the baking book I collaborated on with Yotam Ottolenghi, was released in the United States in 2017, my joy at witnessing so many individuals baking from it was only rivaled by my shock at the results they shared on Instagram: light-hued cakes with thick, dark outer layers.
Images posted by readers from Australia and Britain displayed no concerning outcomes, and I quickly understood that something had gone wrong with the American adaptation. It turned out that the publisher had modified the recipes internally, applying a simple formula to convert celsius to fahrenheit. What few realized was that the conversion also needed to account for the oven type: fan-forced versus conventional heat. Apparently, many American ovens still lack a fan setting. Reader, it was heartbreaking.
Affected by that incident, the first action I took after signing my next American contract was to secure a tester in both Australia and the US who could prepare every recipe in their own kitchens before any pages were printed.
It’s not solely the oven temperature, of course. Minor variations in measurements and types of ingredients can trip up even seasoned bakers. In Australia and the UK, baking generally follows the metric system: grams and millimeters prevail, but tablespoons in Australia measure 20ml, whereas in the UK and US they are 15ml. While it seems trivial, that additional teaspoon can impact fragile batters or dough. Therefore, I frequently default to teaspoons, which are 5ml in every country, to avoid unexpected results.
“Plain flour” in Australia correlates to “all purpose” in America, while the UK’s “strong flour” is equivalent to bread flour. Self-raising flour (termed “self-rising” in the US) is available in all three countries but varies in protein content and leavening properties. American self-rising flour is light and soft, ideal for producing biscuits and pancakes but less suitable for cakes or scones. US “cake flour”, designed to create a delicate, fine crumb in cakes, is not readily available in Australia and the UK. Thus, techniques such as gently folding batter to prevent overworking gluten are crucial.
Caster sugar, the preferred choice for baking in Australia and the UK, is deemed a specialty item in the US where it’s branded as “superfine sugar”. American bakers typically use standard granulated sugar, which means instructions for creaming butter and sugar, particularly for a light cake batter or pavlovas, may take longer.
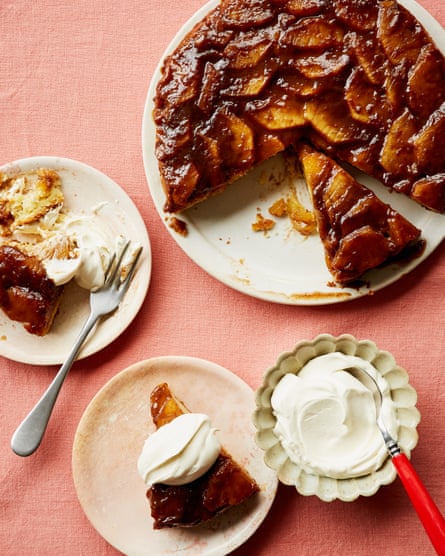
Cream can pose its own challenges. I recall making my beloved lemon loaf cake during a baking demonstration in the US, only to realize too late that the “heavy cream” listed as the alternative for UK double cream was thinner than what I normally use at home. The resultant cake turned out dense and heavy, lacking the rich, smooth mouthfeel I had anticipated. The difference may seem minimal, but as I learned, fat content significantly affects the texture of baked goods.
In the UK, all varieties of cream are readily available in supermarkets, while in Australia, double cream tends to be a specialty item, available only at select retailers. I recently faced an incident on Australian live television while assembling a cake filled with whipped cream: the double cream required by the recipe thickened into something almost resembling clotted cream after merely a few turns of a hand whisk – I nearly reached the point of it becoming butter!

UK double cream (approximately 48% fat) is rich and whippable; single cream (around 18%) is pourable; clotted cream (55-60%) is spoonable. Australian thickened cream (approximately 35% fat, stabilized) and pure cream (about 35%) are versatile, whereas US heavy cream (36-40%) is most similar to UK double cream.
Thus, when adapting recipes, it’s vital to consider both fat content and stability. This sometimes entails adding a dash of mascarpone to American heavy cream to replicate the richness of UK double cream, or slightly diluting an exceptionally rich Australian premium double cream with cold milk and adjusting the whipping speed or temperature to achieve the desired consistency.
Baking across borders can be perplexing. Nevertheless, by grasping the ingredients used in each country, you can more accurately transpose recipes while maintaining texture and flavor – and that cherished home-baked charm.
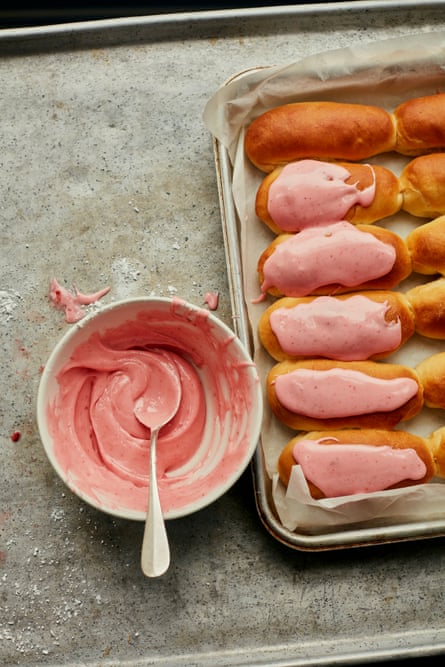
Helen Goh’s strawberry iced finger buns – recipe
I occasionally purchase finger buns from the store, supposedly for the kids, but in reality, I enjoy them just as much. While it’s delightful to sink your teeth into those fluffy buns on the first day, it’s slightly unsettling that they remain ever-soft three or four days later. What even is in them? Thus, I decided to try making my own.
While asking you to boil the milk and then allow it to cool may seem a bit eccentric, there’s reasoning behind it. Boiling the milk breaks down the proteins, resulting in a softer, gentler bread. This also enhances the milk’s effectiveness in hydrating the flour, which elevates the dough’s texture. However, ensure the milk cools before adding the yeast – this step is vital for achieving proper rise.
Makes 12
For the milk bread
150ml full-cream milk
2 tsp active dried yeast
30g caster sugar
375g plain flour
75ml water, boiling hot
15g milk powder
¾ tsp fine sea salt
1 egg
50g unsalted butter, diced into 1 cm pieces and left to soften
Vegetable oil, for greasing
For the icing
60g strawberries, hulled and roughly chopped
300g icing sugar
½ tsp vanilla bean paste
20g liquid glucose (optional)
To create the bread, place the milk in a small saucepan over medium heat. Bring it to a simmer, then remove it from the heat and let it cool to 38C (suitable to touch) before whisking in the yeast and two teaspoons of sugar. Allow it to sit for about five minutes to let the yeast activate and froth.
In the meantime, mix 75g of the flour in a small heatproof bowl. Pour the boiling water over and stir with a spoon to create a thick, shaggy paste. Cover the bowl and allow it to cool.
Combine the remaining 300g of flour, the milk powder, salt, and the remaining 20g of sugar in the bowl of an electric mixer, whisking to mix. Add the flour-water paste, the yeast-milk mixture, and the egg, then mix with the dough hook on low speed for about two minutes, until a ragged dough comes together.
Gradually incorporate the butter. Once mixed, increase the speed to medium and knead for about three minutes, until the dough is smooth. Transfer the dough to a clean work surface and knead gently for a couple of minutes, then shape into a ball, placing it in a lightly greased bowl. Cover with a damp tea towel and let rise in a warm area until it doubles in size, approximately one to two hours, depending on the room temperature.
Meanwhile, prepare a baking tin (around 35 × 25 cm across the base) by lining it with baking paper.
Once the dough has doubled, punch it down with your fist and turn it out onto a clean work surface. Divide it into 12 equal portions, about 60g each. For each piece, press the dough into a rough square roughly 10cm wide. Starting from the side nearest you, roll it up into a small log, pinching and smoothing to seal the ends and seam, creating a mini sausage. Repeat this with the other dough pieces, placing them 2cm apart on the lined baking tray.
Loosely cover the tray with plastic wrap and let rise in a warm area for 45 to 60 minutes, until doubled in size.
When the buns are well-risen, preheat the oven to 170C fan. Bake for about 18 minutes or until golden brown. Move them to a wire rack to cool.
To prepare the icing, put all the components in a food processor and blend together until smooth. Drizzle over the tops of the cooled buns and let the icing set before enjoying.
-
This recipe is an edited extract from Baking & the Meaning of Life by Helen Goh, photography by Laura Edwards. Available now in Australia (A$55) and the UK (£26) where it is published by Murdoch Books, and in the US (US$40) where it is published by Abrams.